
Hi, I'm Adrianne, and I blog over at Happy Hour Projects! I focus on quick crafts and recipes (I aim for an hour or less) because I am a pretty busy mama. :)

I have a fantastic husband and a busy little one-year old girl. I work full time, I write, and I run an Etsy shop where I create hand-stamped and wire-wrapped jewelry. So, with limited time for craft-therapy after *all* of that - I embrace projects with fast results and I love to share them with you!
Today Kelsey is letting me share a great last-minute giftable with you Embracing Messy readers: Layered Cocoa Gift Jars!
If you're anything like me, there are a lot of people you'd like to thank at Christmastime - but it can get expensive so quickly! At least being a crafty-DIY-type-of-mama means that I can do a little more with a little less. These little jars end up at around $2 each - assuming your craft stash already has the finishing touches, be that ribbons, tags, stickers, etc.
This is a really yummy cocoa recipe I got from my tupperware rep ages ago. The original recipe has all these dry ingredients stirred together and stored in an airtight (Tupperware, obviously) container, with instructions to use 1/4 cup of mix per 6-8 oz mug of hot water. But the layering makes it look so much prettier, and if you make a small jar (and use a normal sized mug, which is closer to 10-12 oz.) then this is the perfect size for cocoa for two!
What I love about this project is that it goes together quickly - you can even make them one jar at a time as needed in about ten minutes. They pair wonderfully with a plate of Christmas cookies or candy. It gives a last-minute gift a handmade touch. It's something nice for bus drivers, classroom assistants, or the hostess of that last-minute party you weren't sure you were going to. :)
Recipe for an 8 oz jar:
- 1/4 c. powdered dry nonfat milk
- 1/4 c. powdered coffee creamer
- 1/4 c. granulated sugar
- 2 Tbsp. baking cocoa
- chocolate chips (mini chips work best in small jars, but use whatever you have)
- marshmallows
Keep all your ingredients separate. I have some tips to share that I use for layering, but there's no set-in-stone way of doing it. :)
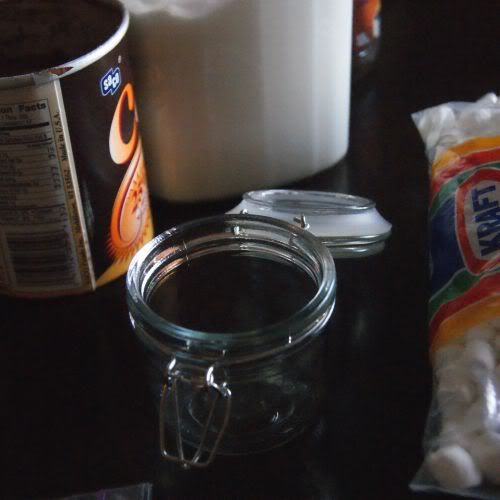
Any 8 oz. jar will work. Check your dollar store, catch Hobby Lobby's half off glassware sales, use Ball jars, or upcycle! (And please forgive the prep pictures - there's rarely much daylight left when I finally have time to work!)
First of all, I stir my cocoa and coffee creamer together. Because it's cocoa, I want more chocolatey-looking ingredients to show. By mixing the two, you will eliminate another white layer and have more chocolate layering to go around.
Now, in a clean jar, put all your sugar in. It doesn't have to be exactly level, but you do want to make sure it's a visible layer all the way around the jar, so go ahead and shake it a little to settle it.
Next I add about half of the cocoa/creamer blend, and tap the jar so it's more or less level. Then I pour in about half of the dry milk.
When it comes time to add the chips next, I arrange them around the outside of the jar. You don't need to use much for the recipe (they're really not necessary, just pretty), but the point is that you want to see them from the outside of the jar:
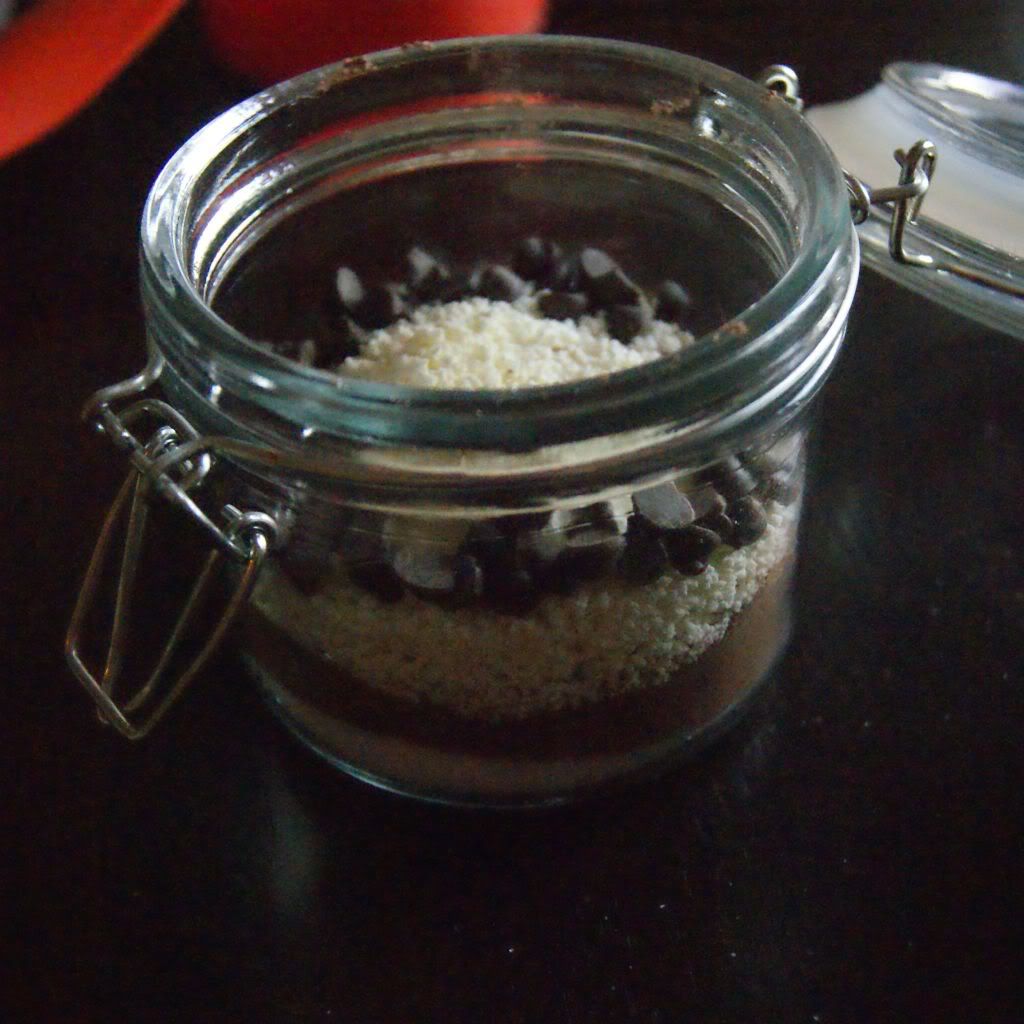
Then, I add the remainder or the dry milk. At this point, you want to tap the jar fairly well so that it packs down as much as it can, because the dry milk is grainy. You'll be adding the remaining cocoa on top of that, and you want it to hold up the cocoa layer as best it can.
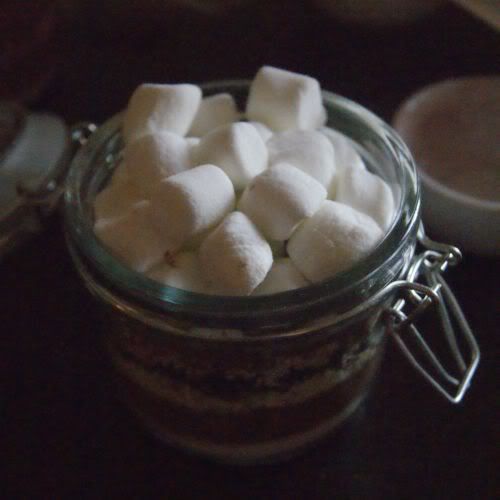
Add the last of your cocoa mix, and pack in a bunch of marshmallows. The marshmallows keep the ingredients in place, so go ahead and squeeze in as many as you need to fill the jar completely.
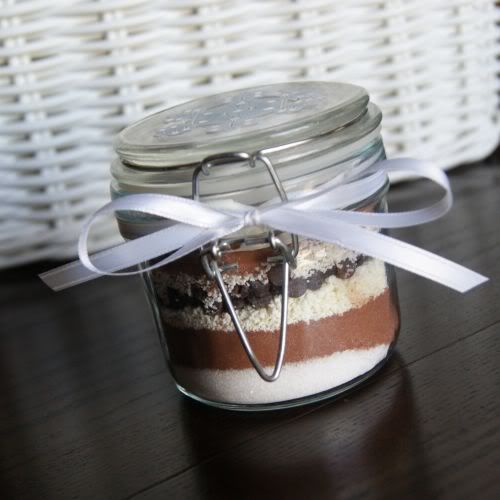
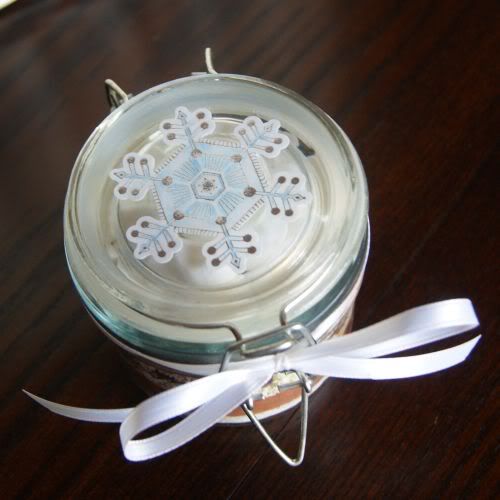
Now close off your jar and add a festive touch. I go for the minimalist approach with snowflake stickers from my scrapbooking stash and a bow. But depending on what sort of jar you use, the possibilities are really endless!
You should include a note for mixing instructions: This recipe for one jar makes two mugs of cocoa. Just add the contents to 20-24 oz. of hot water. Share and enjoy!
If you liked this - I invite you to drop by Happy Hour and have a look around for more quick and simple ideas!
Thanks for having me, Kelsey!
~ Adrianne
What is it about talking about hot chocolate that makes you instantly want one?! This is such a pretty gift idea and I love the price tag and the time required. Thanks for sharing.
ReplyDeleteA classic!! Love layered jar gifts!
ReplyDeleteJust went through all the days...everything is great! Those Sock Snowmen are a classic too!